I first did this hike in the winter when it was slippery and muddy. It’s not as beautiful in the summer, but it certainly is easier and drier.
There is no way to drive to Ka’ena Point. You can access the point from the North Shore side, or from the Waianae Side. To get there from the North Shore, take the H2 over the mountains and then follow the Farrington Highway to the end. To get there from the other side, just take the H1 until it becomes the 93 as it goes through Waianae, and follow it all the way to the end.

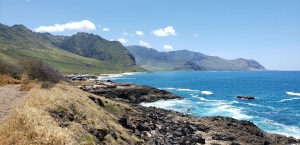
From the North Shore side, you can follow a road or a path along the coast. The coastal path is more beautiful, but it zigzags up to meet the road several times, so you end up walking a lot more than the three miles it is point-to-point.
From the Waianae Side, you follow a path that is raised up on a cliff. I like this side better because it has the little blowhole and striking views. However, it’s a splash zone in the winter and the spring, and it’s definitely more dangerous.

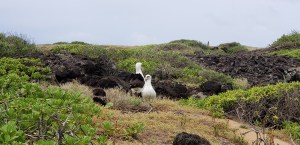
Once you reach the point, you open a gate and go into the wildlife preserve. Please remember not to let any animals in here, including dogs and cats. The birds that nest at Ka’ena Point build their nests in the sand, so they could be threatened by any animal that gets in, including a mongoose (who would eat their eggs.) Also please remember not to feed anything or touch anything, because we need to respect nature if we want it to continue to exist. Also, bring your biggest zoom lens, because you shouldn’t get close to wildlife.

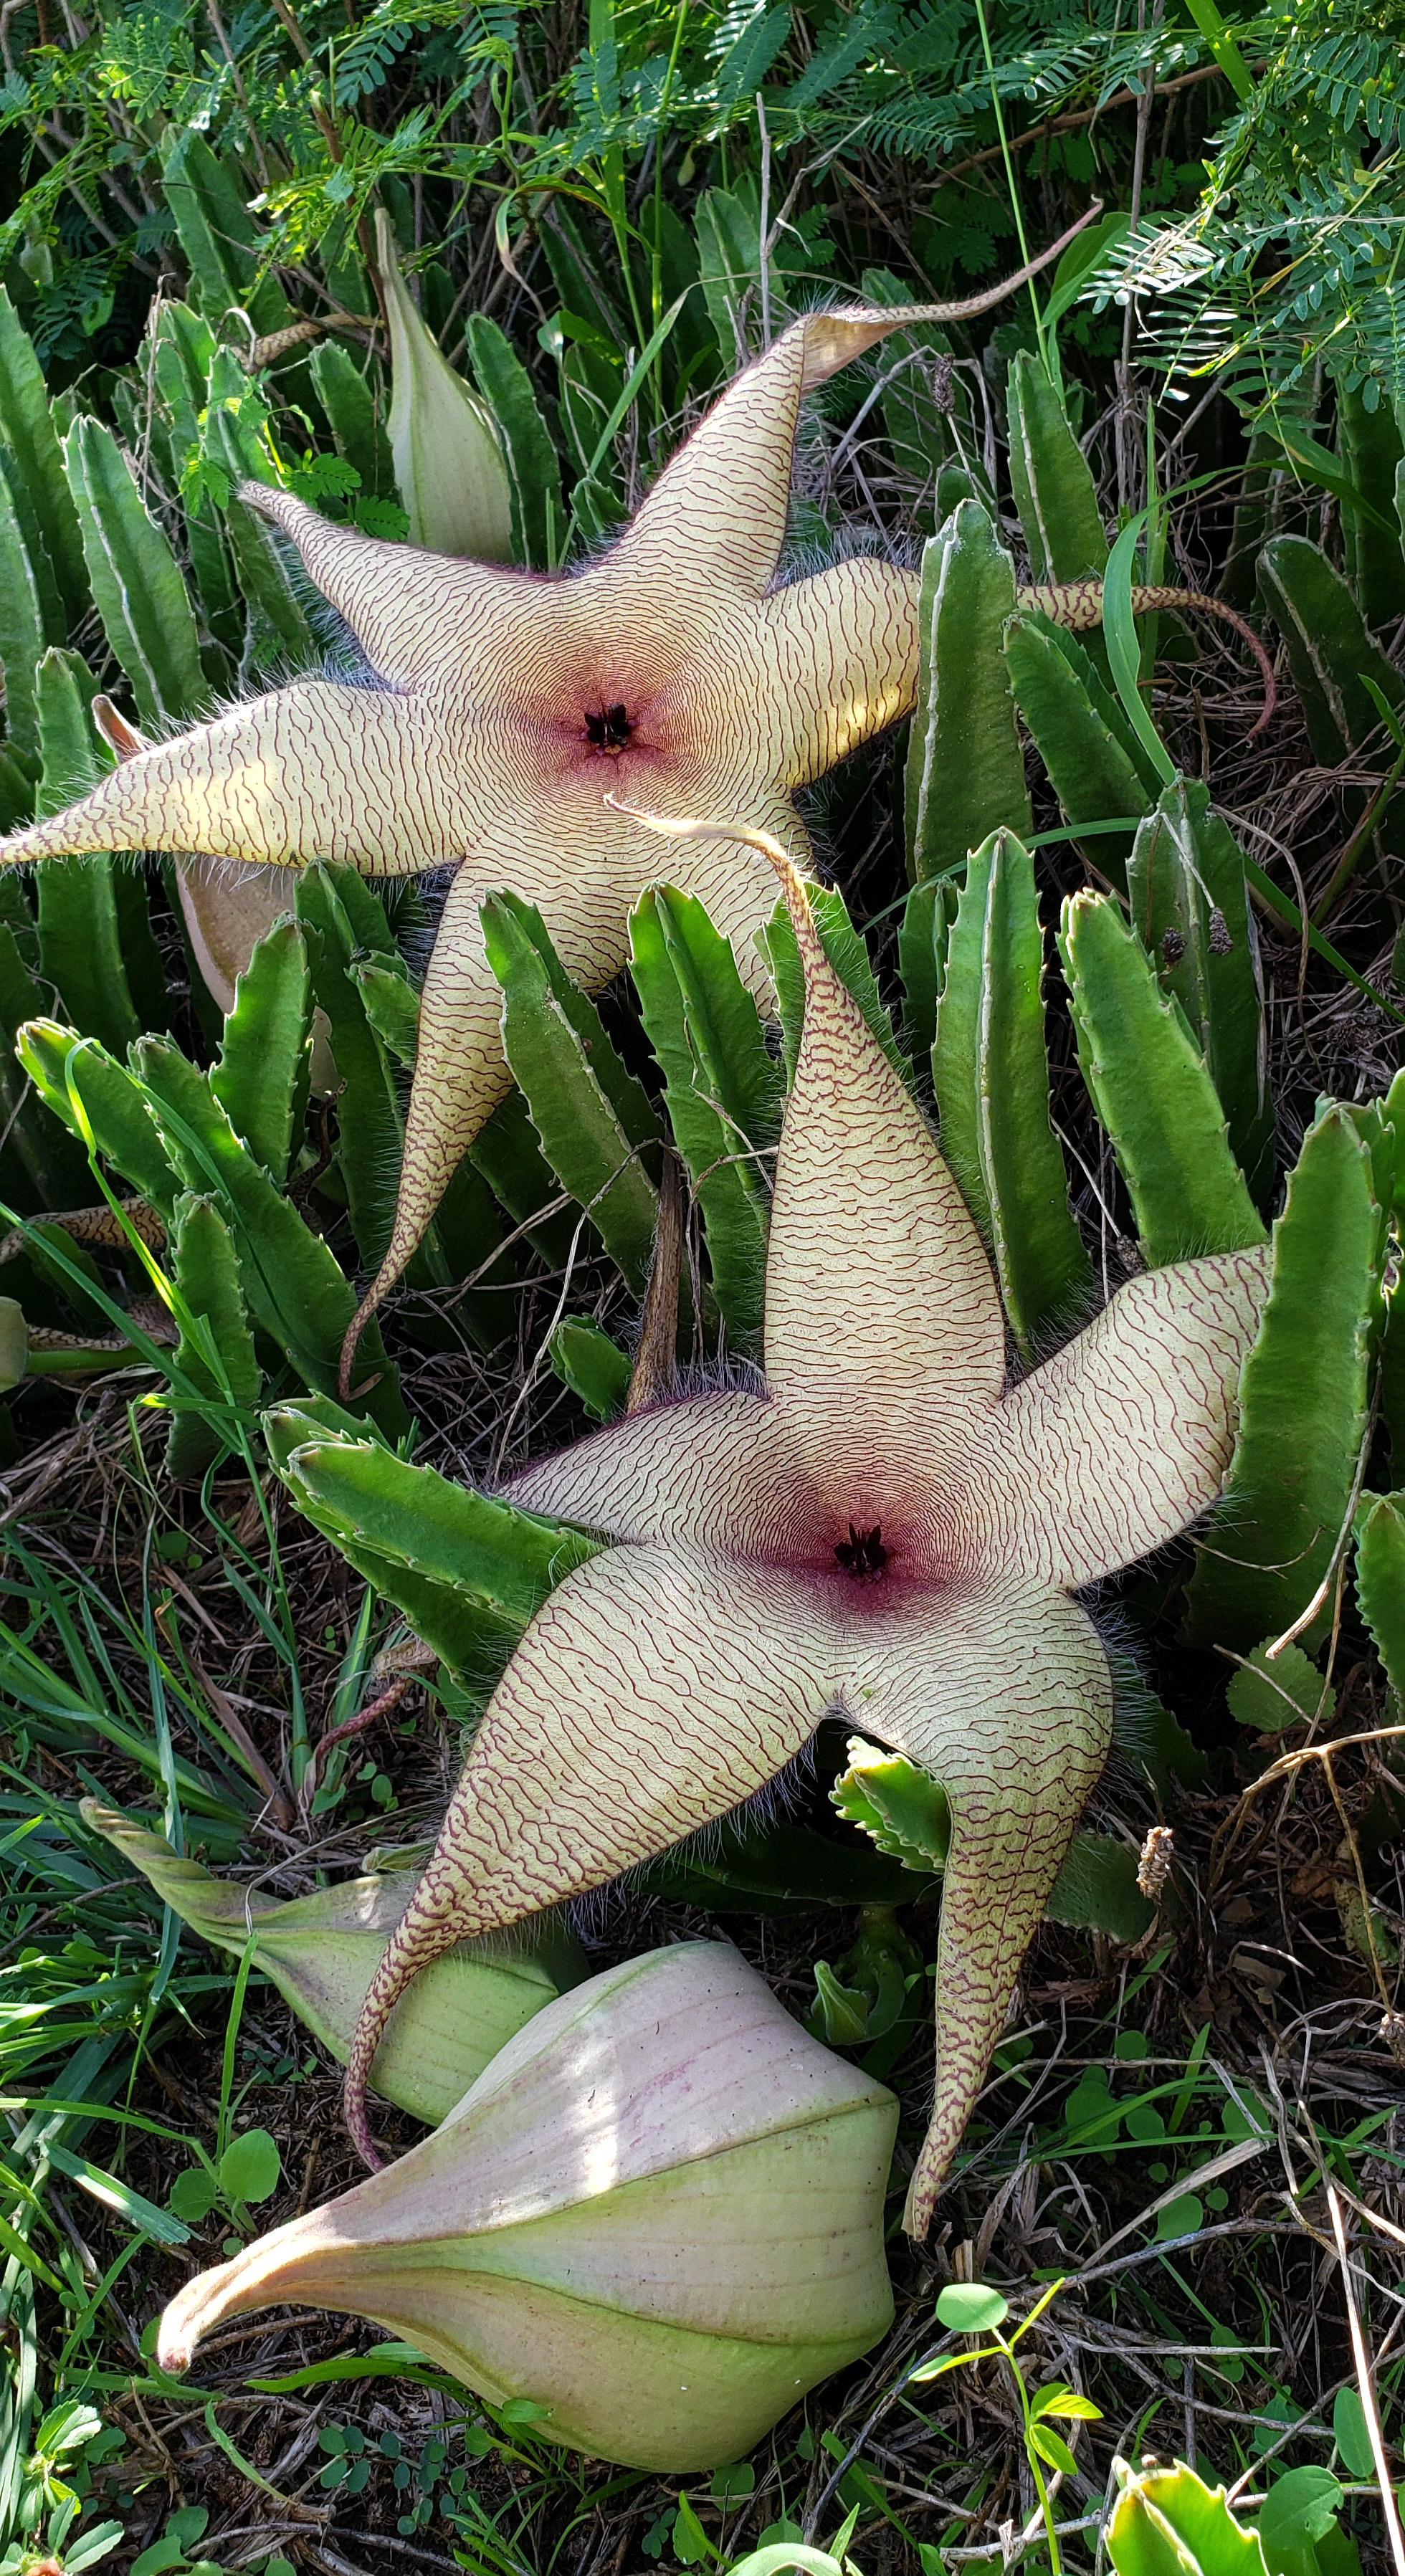
Inside the preserve, there are several trails that you can follow. The state of Hawaii has provided lots of helpful signs to tell you about the plants and animals that live in the sanctuary, so stop and read about the many things you might see.

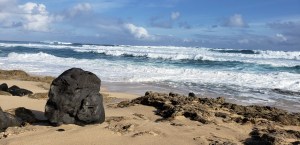
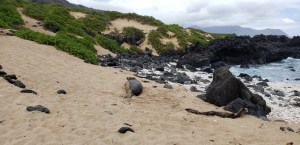
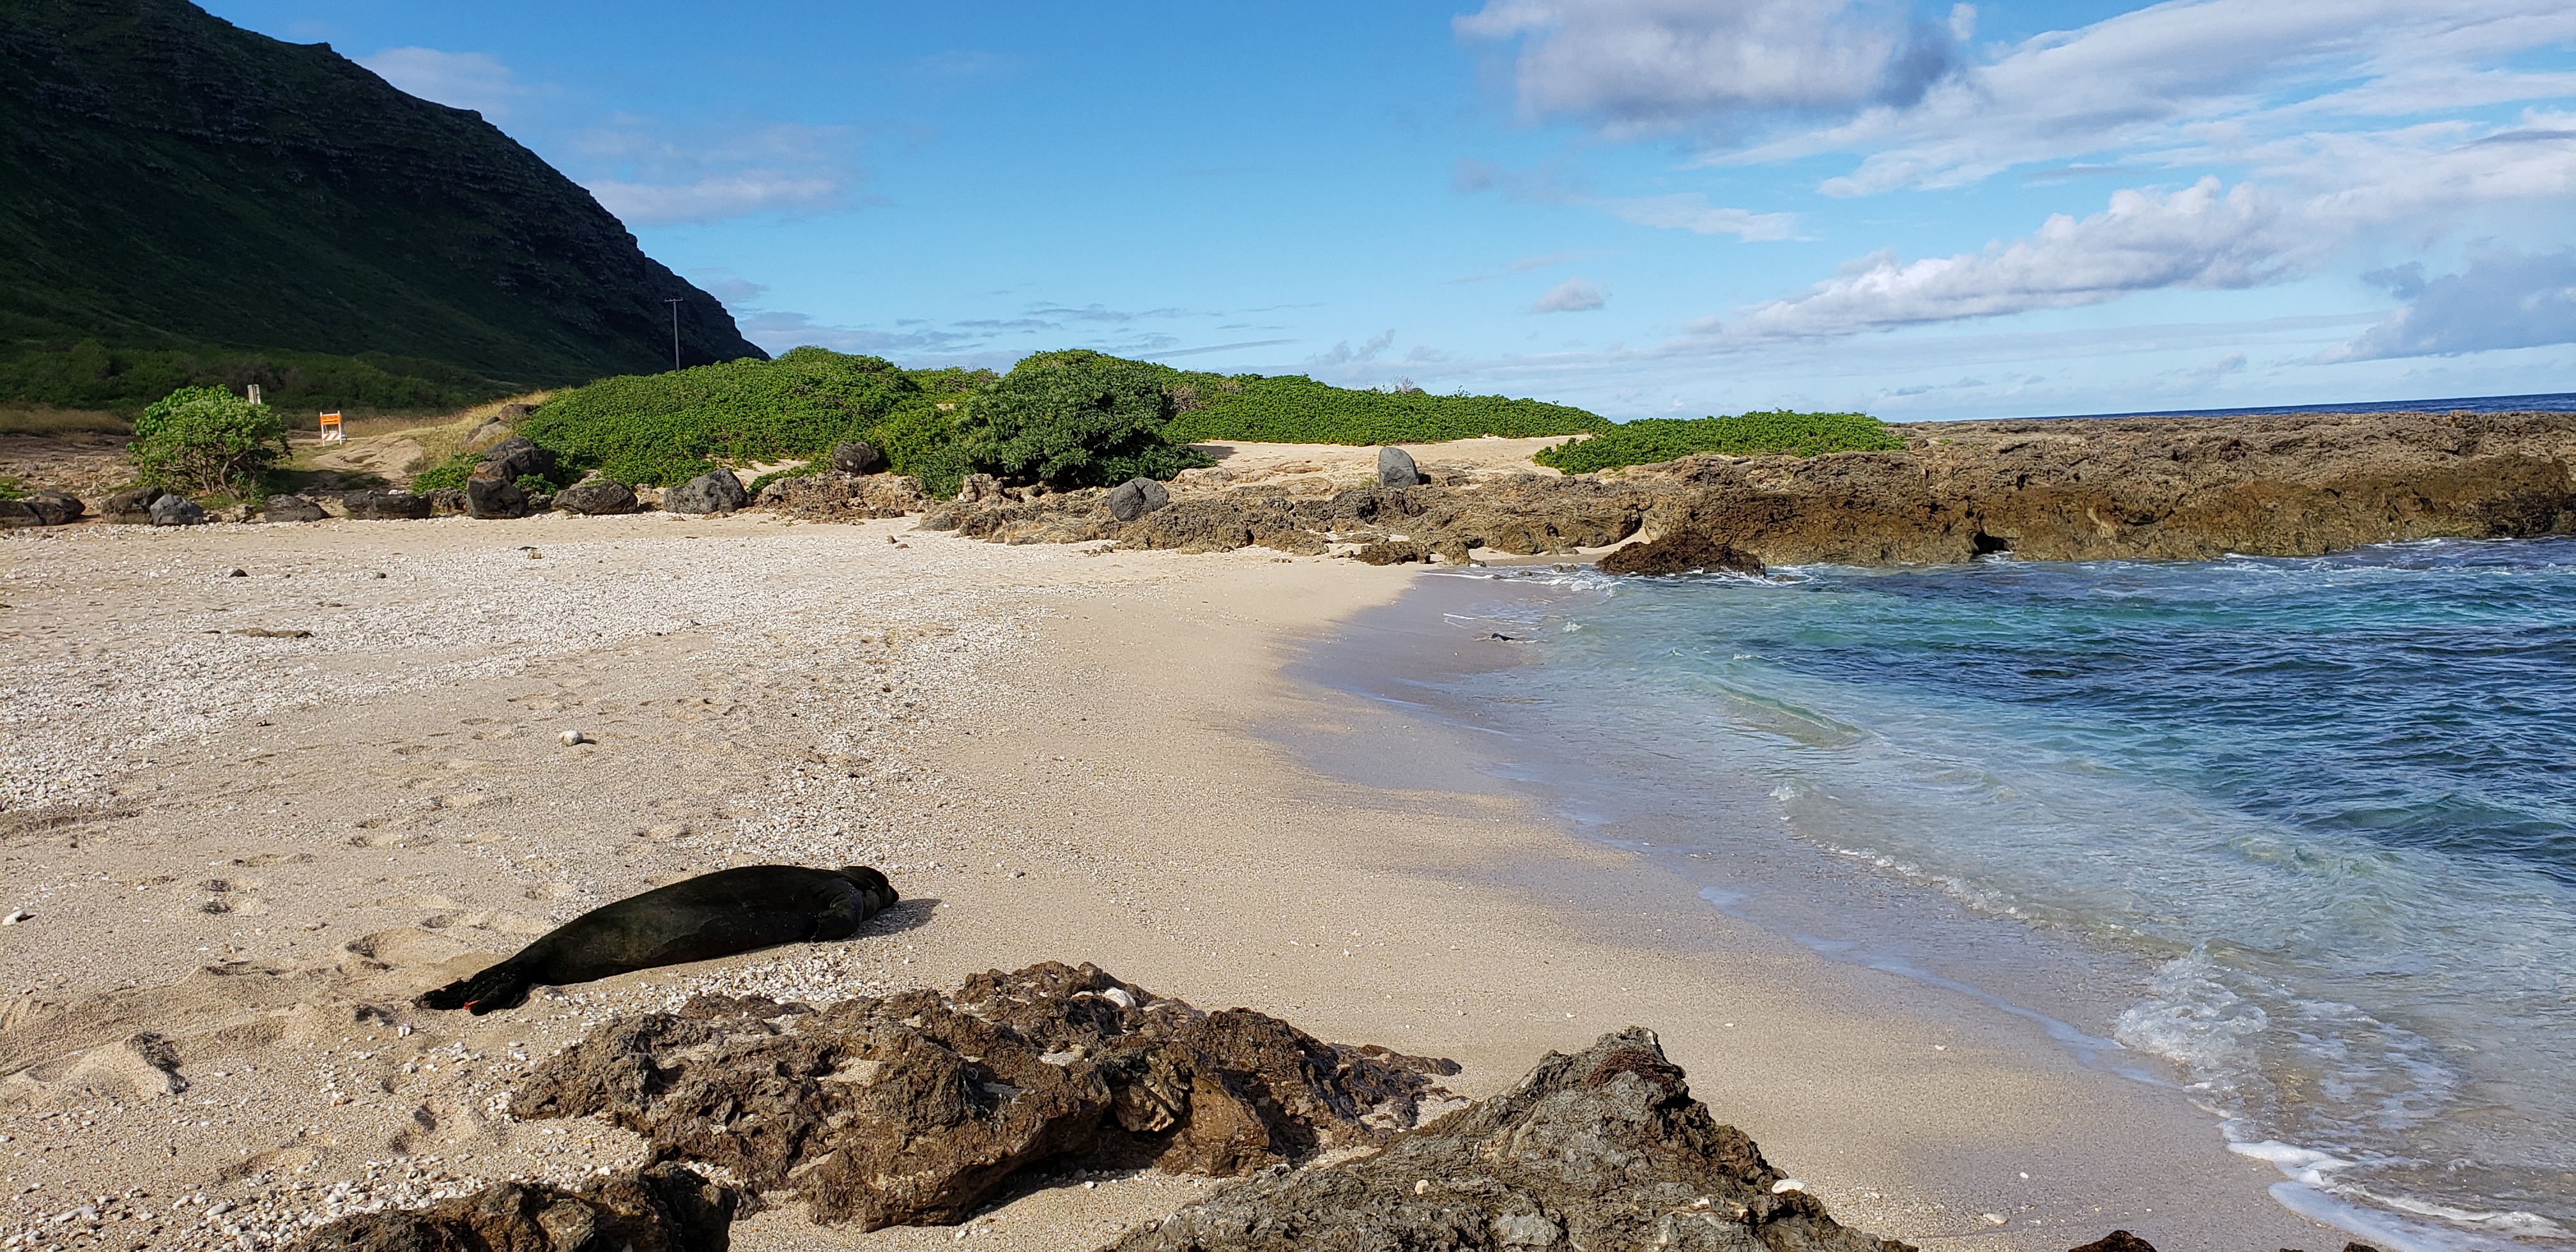
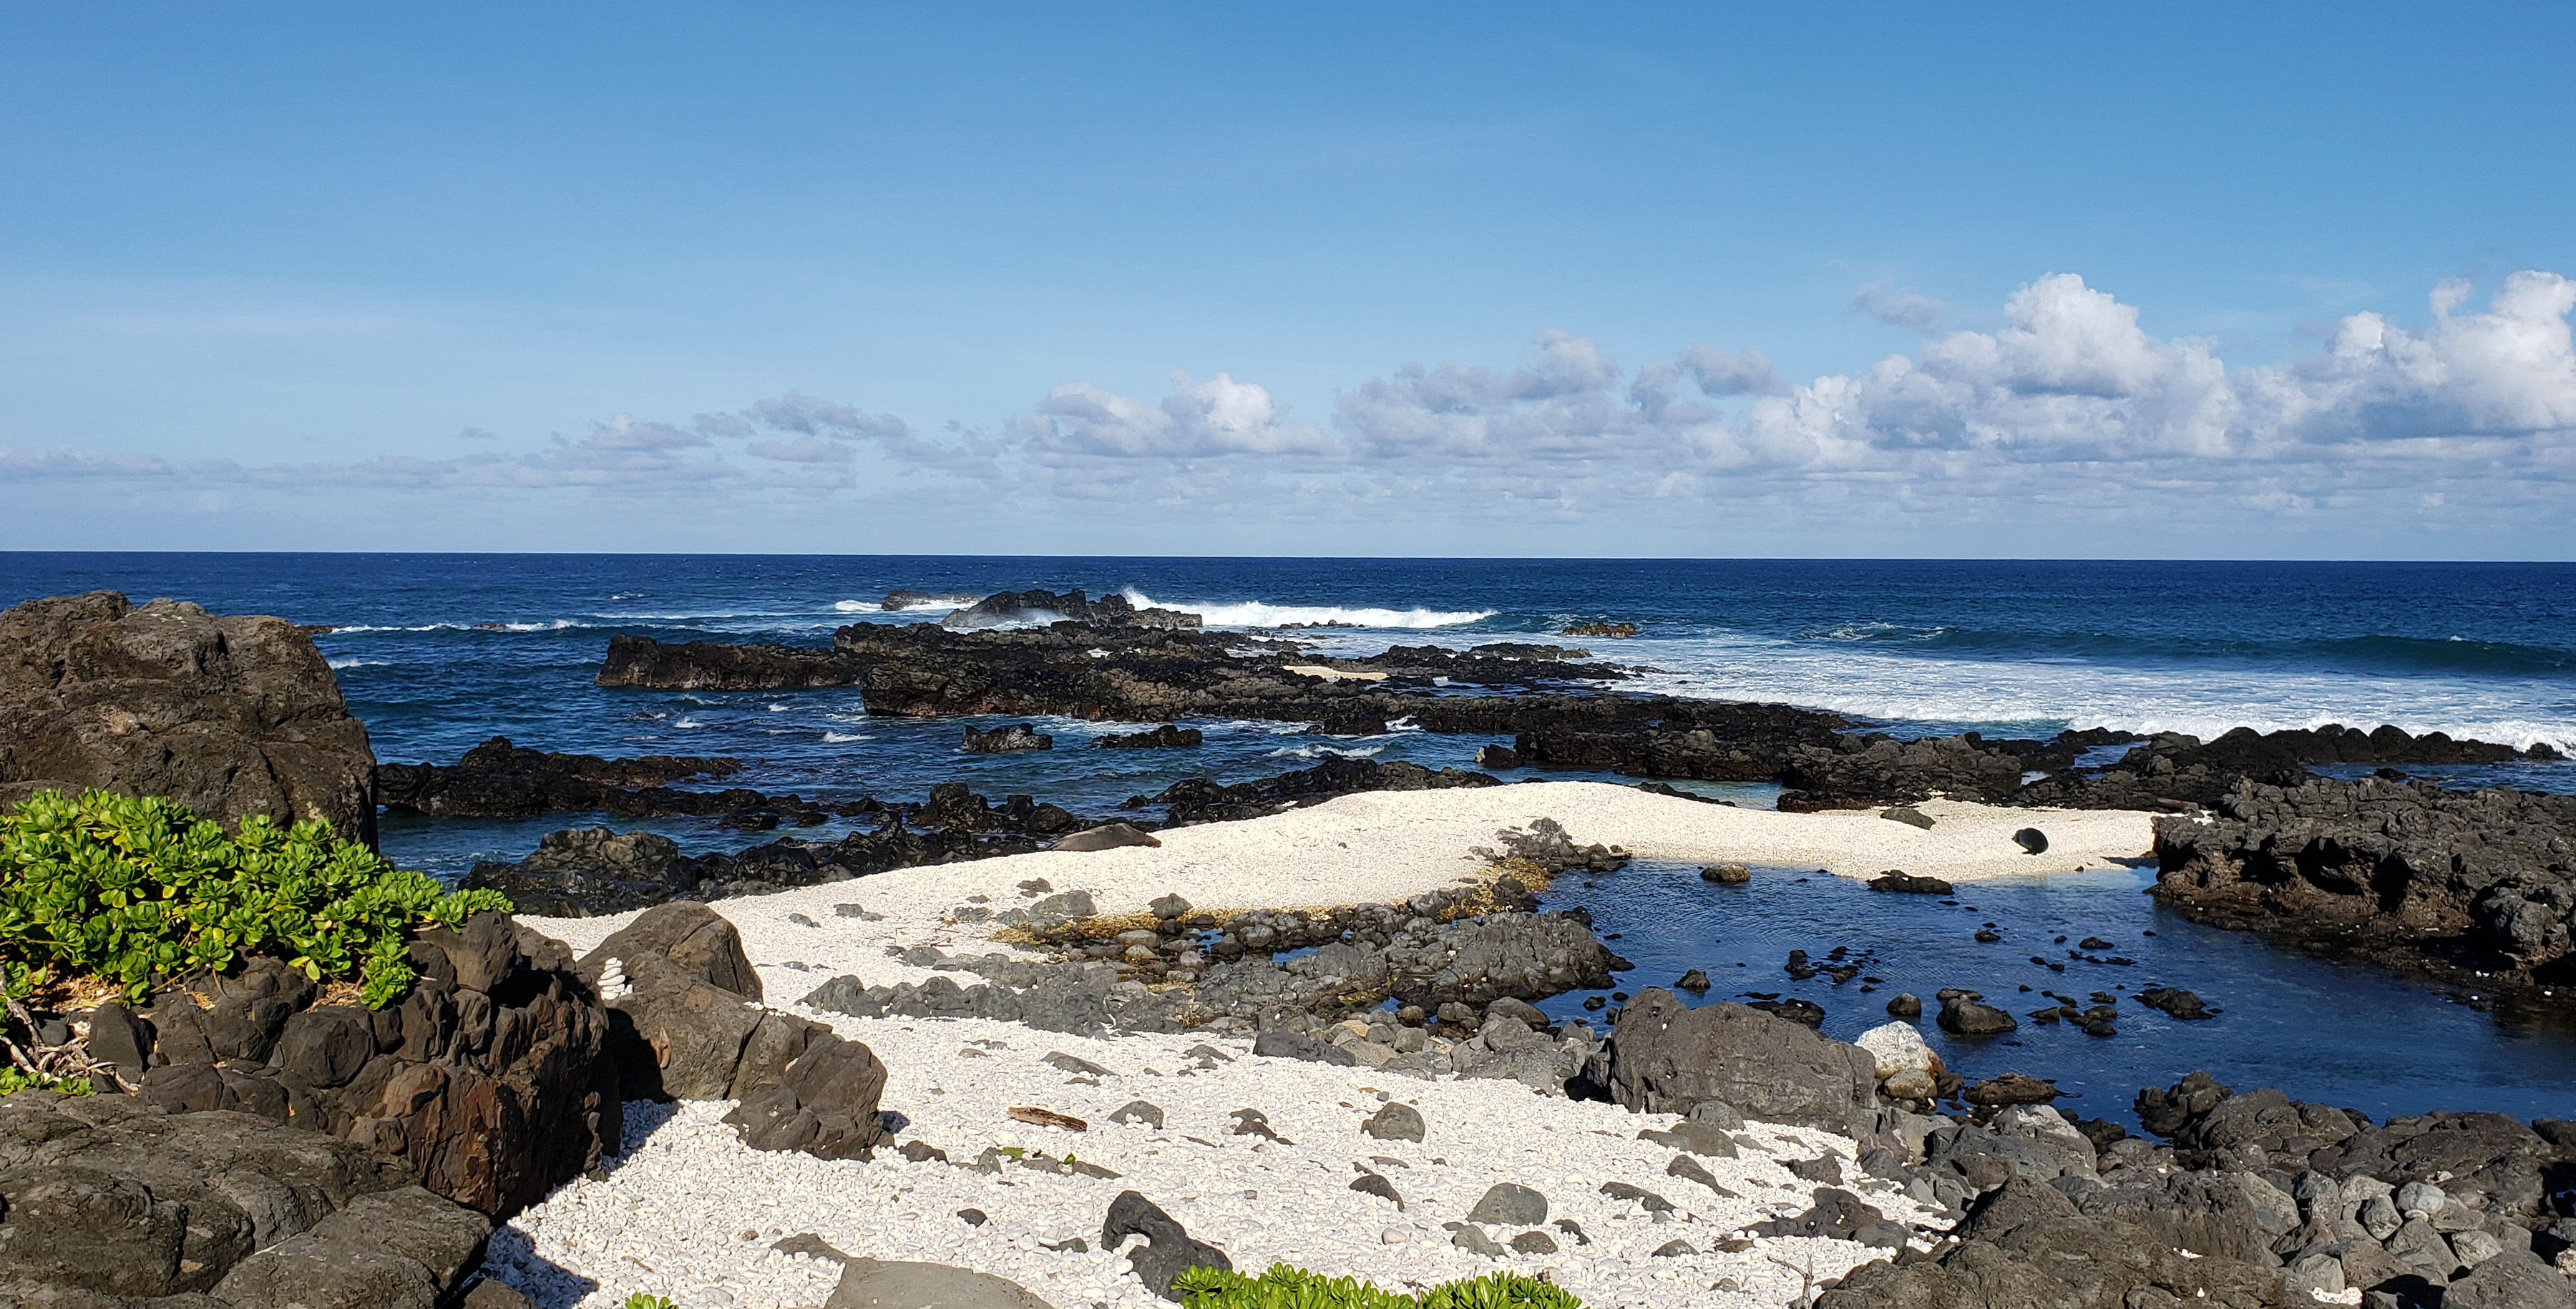
At the very tip of the sanctuary you can walk down a sandy hill and get to the point. It’s comprised of a combination of lava rock and coral chunks that have washed up, so the land is a striking contrast of black and white. Hawaiian monk seals love to come up on the rocks to rest and catch from sun. Please remember that they are an endangered species, and they are best viewed through binoculars or through the telephoto lens of your DSLR. Don’t get close to the seals, because you may startle them and force them back into the water before they have rested. This could lead to them getting eaten by a shark, and no one wants that!

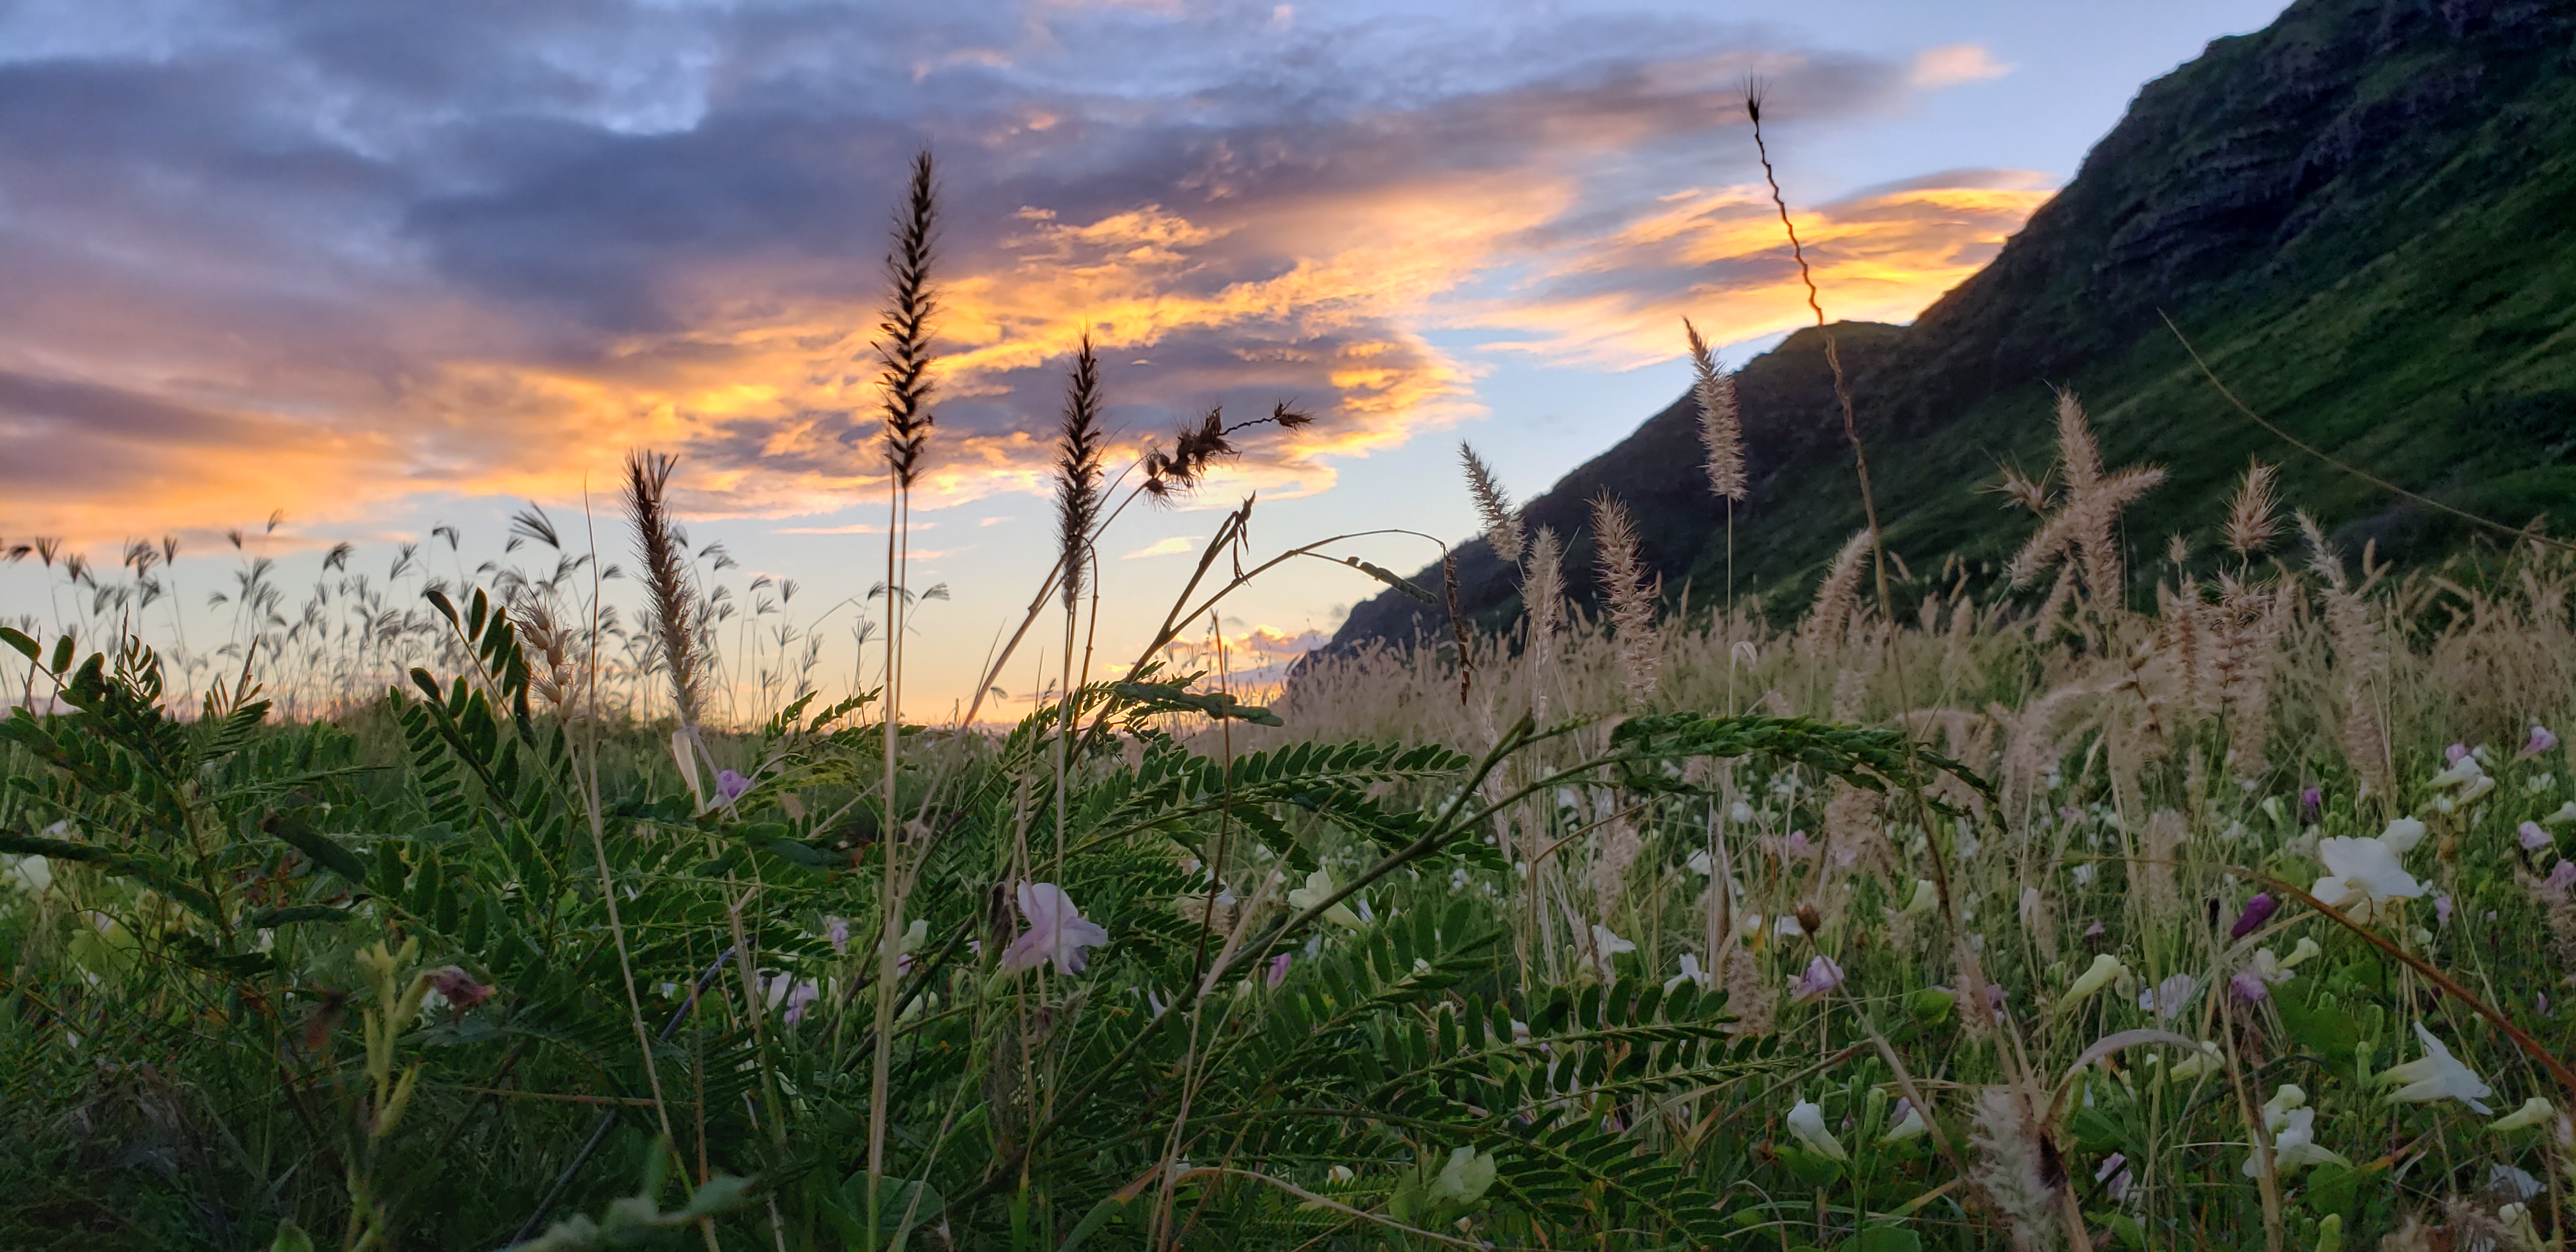
This is one of my favorite places on Oahu because it’s typically very peaceful, and it offers so much beauty. However, even in the winter this hike can be hot and dry. You want to bring at least a gallon of water per person, and I’d recommend some snacks as well. Suncreen is a must, and long-sleeves and a hat would be smart. Also, it’s very windy at the point. Be prepared to hold on tight to everything that you have with you! I’ve absolutely had to chase my hat when it blew off, because the wind didn’t care about the strap that is supposed to keep it on my head.
Although the internet says that it’s three miles from either side to the point, I’d argue that the North Shore side is longer and offers a wider variety of terrain to navigate. Either way, it’s a six mile round trip at least. We started at 7am and finished at 11am last time, with lots of stops to admire wildlife and enjoy the views. You could probably do it in two hours if you were in a hurry, but you wouldn’t see nearly as much.

Remember: Last time I was there I saw tourists collecting rocks and shells. I know the urge to collect souvenirs can be strong, but if everyone did this then our island would be destroyed. Please take only photos and memories, and leave nothing behind. Also, I took these pictures with a point-and-shoot that has a 10x optical zoom. Stay 100 feet away from the animals. They need their space.